Baking bread is like the oldest trick in the book. For some crazy reason in our technology driven age it has become as elusive as finding the Leviathan. Not that one would want to find this deep sea creature cause surviving the meeting has even less odds. Yet here we are with countless epic fail stories and people resorting to buying expensive equipment to do it for them.
As a young child I used to watch my father fail over and over again to make bread. The horror of burnt loaves! Imagine the despair of a super intelligent man who could work on submarines get served defeat time after time from a little ol’ loaf of malformed bread. I even told him why even bother they sell it in the stores. Just go buy it! Welp, after dang near the 25th time the bread finally came out right and it was well okay. Yeah…. just okay. It was nothing amazing or worth my tastebuds to remember. However, I feel I have redeemed our family name in regards to baking. I realized I could not overthink think the process. Remember people been making bread before we had blenders, food processors and that dang Breadmaker!! I believe the trick is allowing the time for the bread to rise and adding a Dutch oven to your kitchen arsenal.
My Italian Herb Garlic Bread
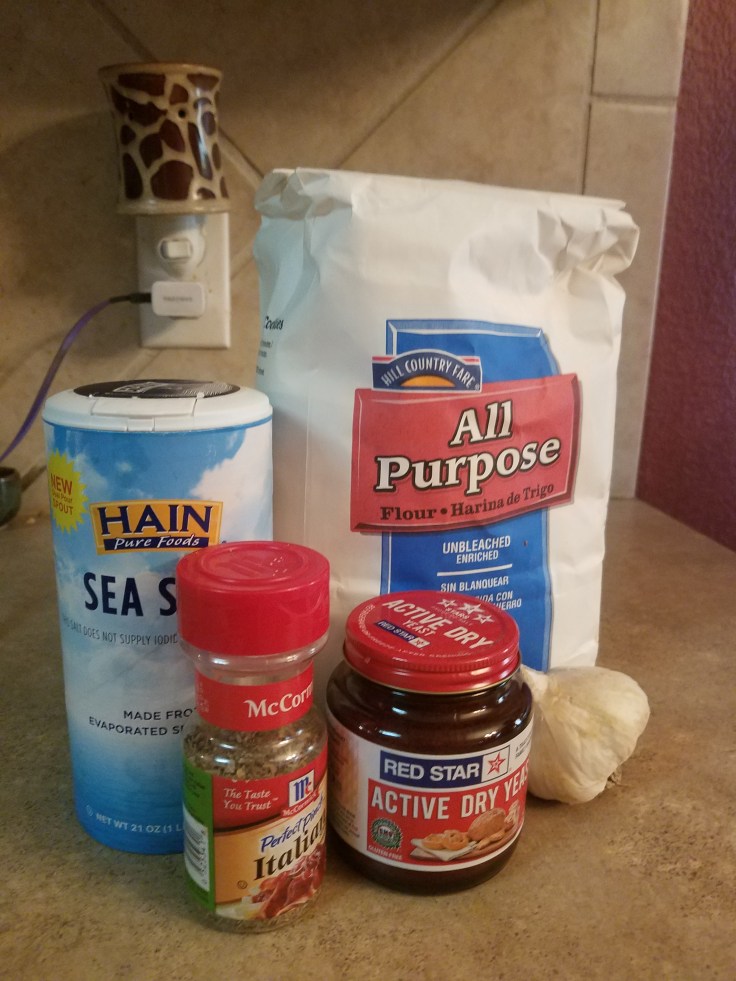
Ingredients:
3 cups of flour
2 teaspoons sea salt
1/2 teaspoon Active Dry Yeast
1 Tablespoon of McCormick® Perfect Pinch® Italian Seasoning
4 cloves of garlic chopped
1 1/2 cup of warm water
**Replacing your Breadmaker Equipment:
5-7 quart Enamel Coated Dutch Oven (I got mine from Walmart)
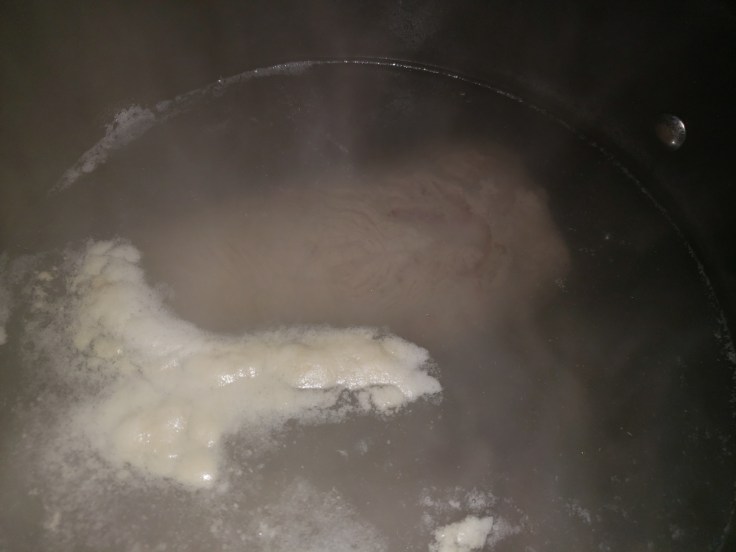
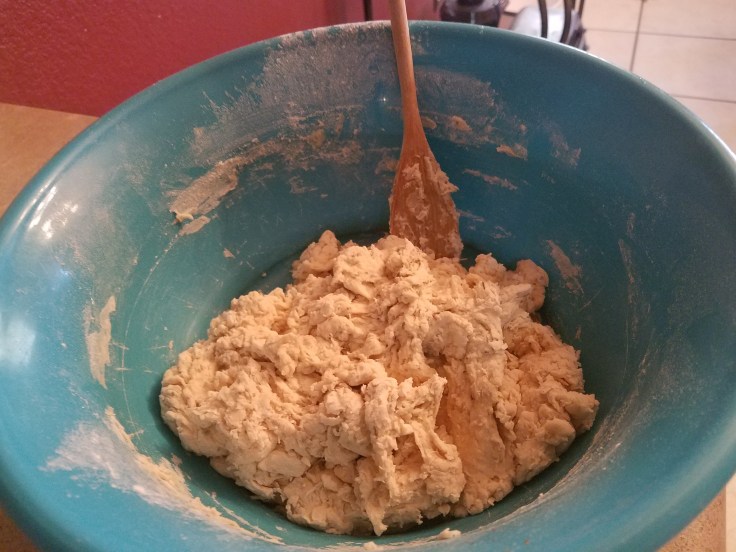
Mix all the ingredients in a large mixing bowl. It’s gonna stick together but look really stringy and messy. This is okay. You’re not looking for uniformity or a smooth beaten mixture. In fact don’t over mix the dough or the bread wont be as fluffy.
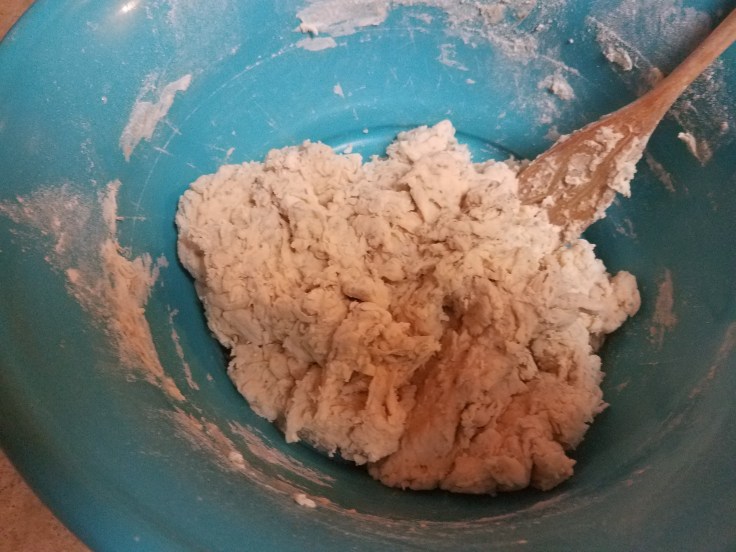
Your final mixed ratchet-looking dough is below. Remember, it will come together less is more.
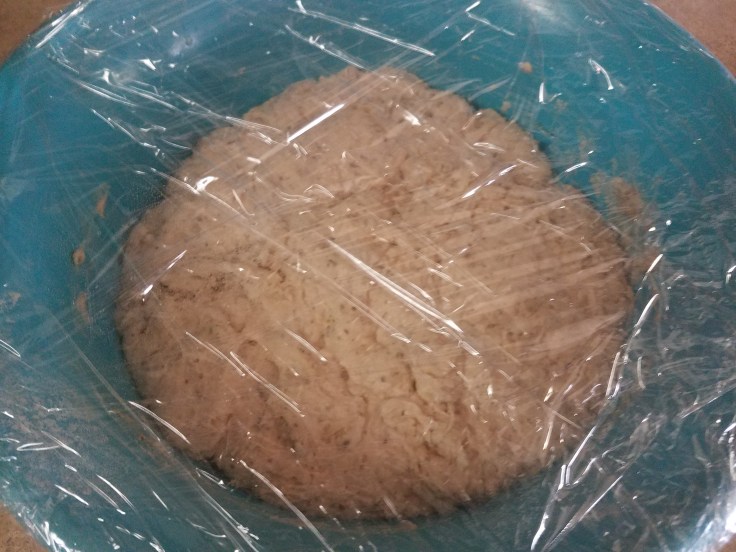
Cover it with plastic wrap or a damp cloth for at least 8 hours at room temperature. I typically prep this a day before so I can bake for the next nights dinner.

After 8 hours your dough will have risen and will look like this. You will see nice little air pockets!! Super cool!
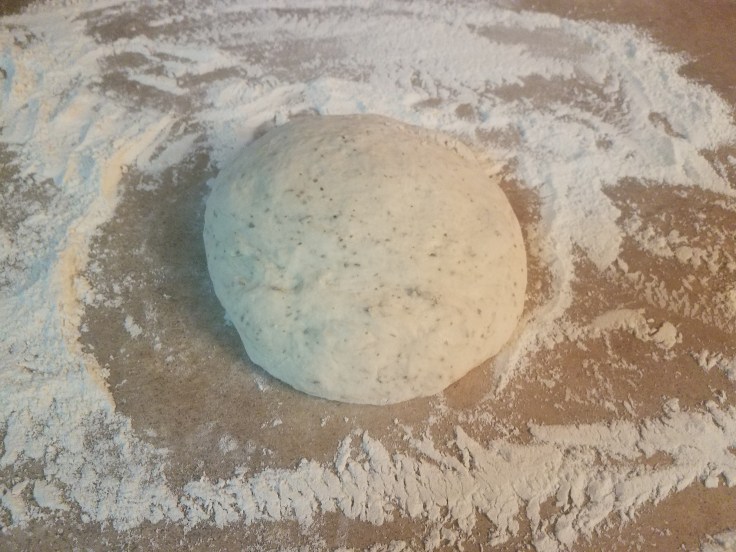
Preheat your oven 450 degrees. While it is heating up put some flour on a flat surface and powder your hands so the dough doesn’t stick to them. Dig the dough out the bowl and then punch it a few times.
Hee hee…
Ahem, yes… punch it a bit. Then shape it into a nice ball like this.
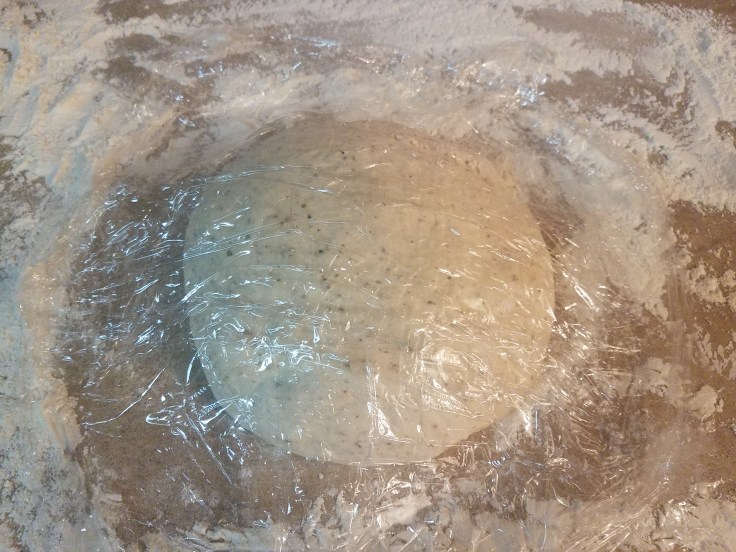
Cover the dough with the plastic wrap until the oven is heated and ready.
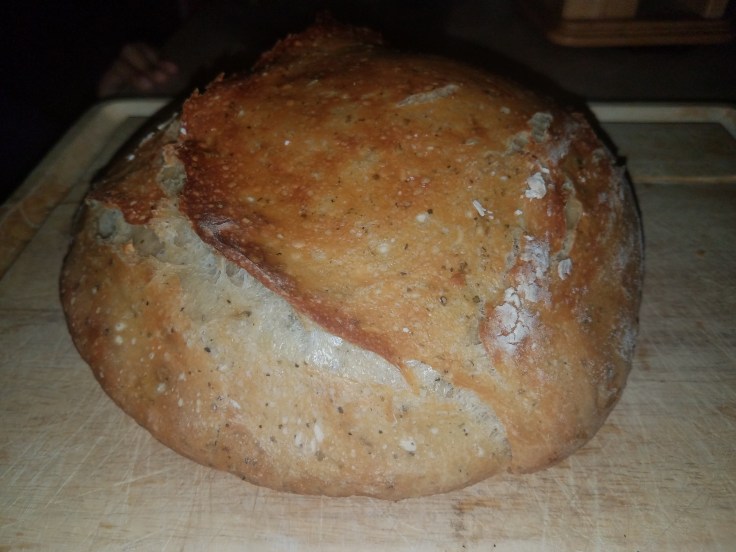
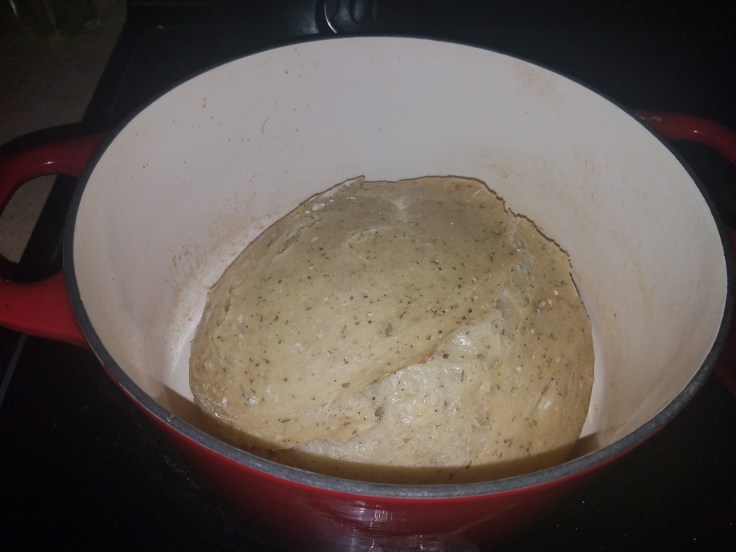
You will put the bread AS IS in the Dutch oven. The dough shouldn’t stick to the enamel so you don’t have to line with oil or whatever. If you are not using a non-stick oven then add olive oil or parchment paper on the bottom of the pot. Bake for 30 minutes COVERED. Then REMOVE the top and put it back in the oven. Mine looked like this after 30 minutes.
***PAY ATTENTION***
Now…this is the final stretch for you. Depending on your oven it may take roughly 7-15 minutes to get that golden color. I set my oven timer on 7 mins initially. Checked it. Nope! 3 mins more. Nope and finally 3 mins again. Yes it’s perfect!
Remove it from the pot on to a cutting board.
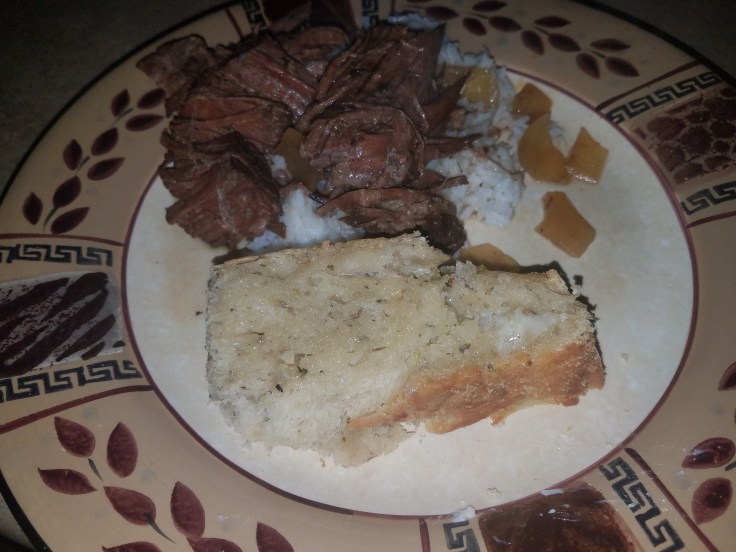
Slice it and spread some butter or olive oil. It’s whatever you want to do at this point!
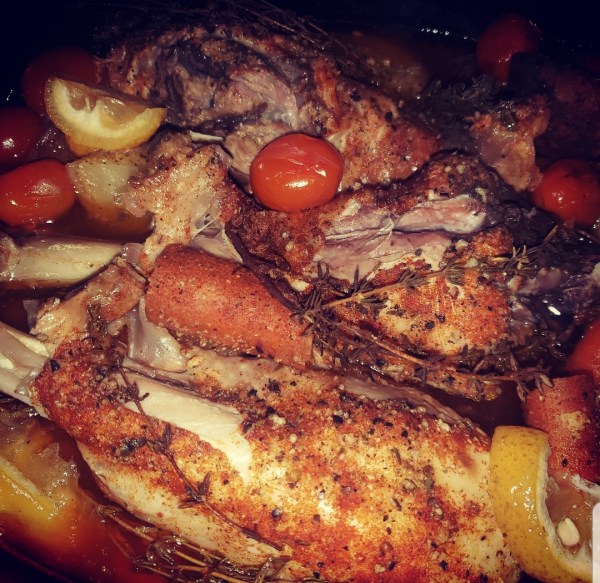
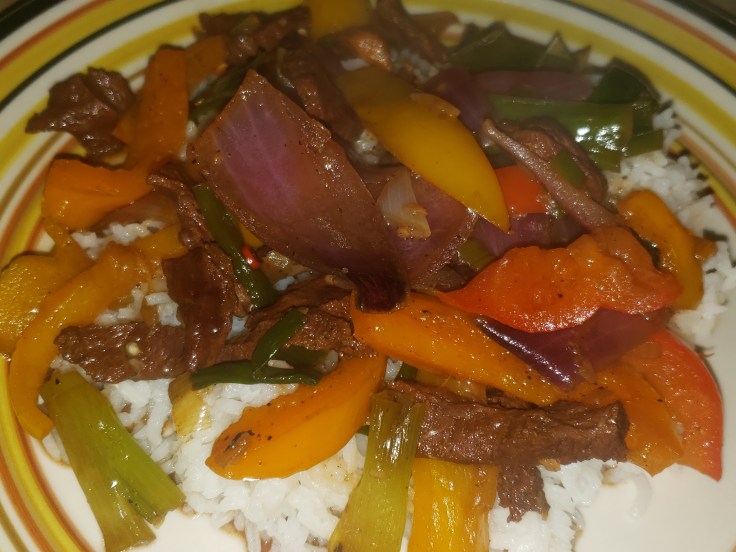
I made pot roast that night so it was super useful at sopping up juices from it! The finished product looks so unbelievably sexy I tell ya. The herbs and garlic really shine through in this recipe! I mean you can really taste them! The crust is crispy and the bread moist and fluffy!! I guarantee your family will love it. I know my boys did!
**Peep Lil Rocs stalker hand**